Anywhere Light Goes™ Blog
A blog about optical design, build, test and more.
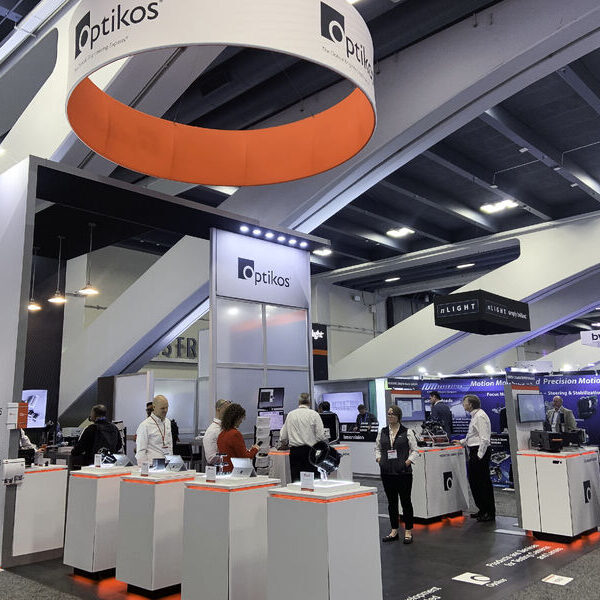
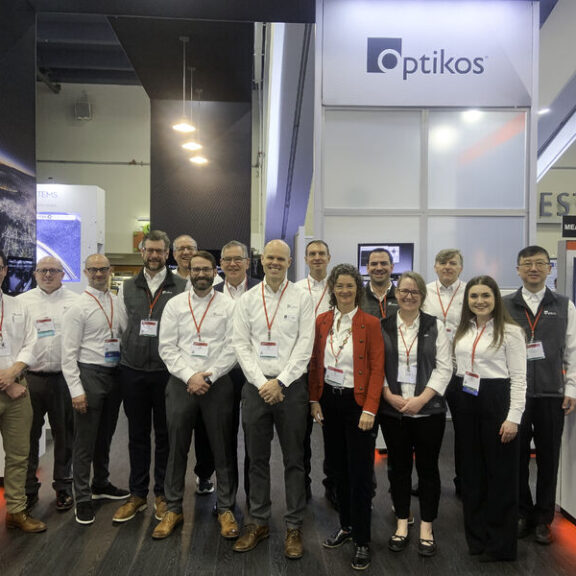
The Optikos Team Prepares for Photonics West 2025
Photonics West promises to be an excellent week of networking, training, and innovating. SPIE describes it as the world’s premier event for lasers, biomedical optics and biophotonic technologies, quantum, and optoelectronics. We talked with the experts from Optikos who will be joining the event to chat about what they are most excited for. Lars Sandstroem shares, “Photonics West is a great opportunity to connect with industry leaders, engage with existing and new customers, and explore how our photonics expertise can bring their applications to life.” Byron Seabolt agrees, noting he looks forward to “connecting with customers and industry leaders to explore cutting-edge advancements in photonics and optics.” Photo credit: SPIE Our team especially appreciates Photonics West for the opportunity to...
Join Optikos at Photonics West 2025
Since 1995, Photonics West has been a celebration of innovation, research, and emerging technology for the international optics and photonics community. Optikos is proud to be joining leaders from the industry, academia and the government to share our expertise and bring our optical engineering design, manufacturing, and testing services to life. Optikos Exhibiting at Photonics West 2024 As explained by David Biss, Senior Manager, Optical Engineering at Optikos, "Photonics West is one of the most important shows for us to attend. It's a perfect place for us to show off our image quality metrology systems and offerings, and it's a great place for us to talk to customers about our optical and opto-mechanical engineering and manufacturing capabilities." When you visit Optikos...
Artificial Intelligence (AI) in Microscopy Applications – Removing the Need for Precision Imaging Sub-systems?
Artificial Intelligence, or AI, is the buzzword of 2024 in nearly every industry—and microscopy is no different. The integration of Artificial Intelligence (AI) into microscopy has further advanced life science diagnostics. By harnessing the power of machine learning and deep learning algorithms, AI-driven microscopy has further improved how we visualize and interpret biological samples. But one popular question remains: does the rise of AI mean the end of precision imaging sub-systems in microscopy? Let’s take a deeper dive. The Role of Precision Imaging Systems in Life Science Diagnostics For almost four centuries, precision imaging systems have been the backbone of microscopy. Microscopy sub-systems for life sciences, especially diagnostic applications, have made significant advancements in the last few decades. These sub-systems,...
The Optikos ColliMeter™: Taking the Guesswork Out of Focusing
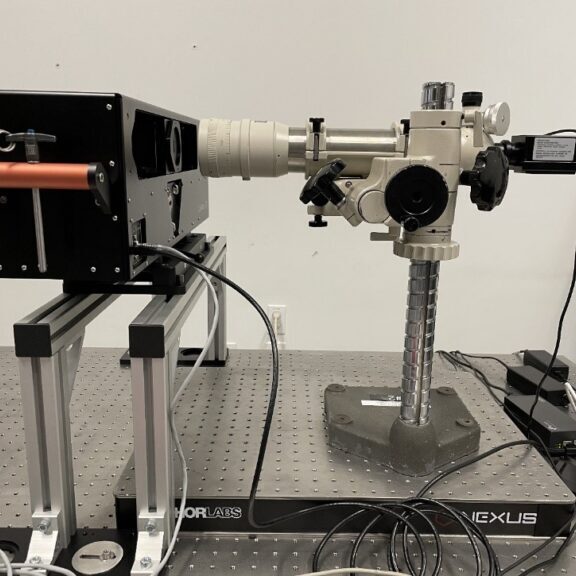
Setting collimation is an alignment challenge faced by nearly every optics practitioner. There are a variety of methods for measuring collimation to guide this alignment process—some common ones are listed in Table 1. This table also identifies limitations associated with each method, which broadly fall into one of two categories: Source type restrictions Aperture size requirements of the metrology instrument Table 1. Common collimation measurement methods and the limitations of each regarding instrument requirements or collimator type. The scanning pentaprism stands out as the most versatile method by avoiding all of these limitations. Remarkably, it is also the lesser known technique, and consequently, no commercial instrument has historically been available. This led to the development and release of the Optikos...
Ask Optikos: What is a Projector?
What is a projector? The short answer is that a projector is an optical device that illuminates a surface patterned to a desired image and projects that onto a screen. But in this post, we’ll take a deeper dive into what a projector is, its history, and common design challenges in creating projectors. A Brief History The oldest projection of an image may be dated back to magic mirrors made in Asia thousands of years ago. A projected image was created onto a screen by a pattern embossed on the back of a bronze mirror. Curiously, when the reflected surface is illuminated, the image of the pattern is projected onto a screen even though the pattern is invisible by direct...


